
Fields
All 23 Bee Swarm Simulator flower fields from Sunflower Field to Coconut Field — best fields by level, pollen colors, field boosts, winds and unlock requirements.
Introduction
Fields are where all the action in Bee Swarm Simulator happens. Each field is a patch of flowers that your bees collect pollen from, and every field unlocks at a specific pollen cost as your swarm gets stronger. The 23 fields split into blue, red and white pollen categories, and the game's whole farming loop revolves around matching your hive color to the right field and stacking field boosts and winds for massive pollen hauls. Early fields like Sunflower, Dandelion and Mushroom are cheap and forgiving, perfect for learning the loop; the mid-game adds Strawberry, Pineapple Patch, Stump and Cactus; and the late-game opens the brutal Mountain Top, Pepper Patch and Coconut fields that demand high-level bees and serious gear. Specialty fields like the Ant Field and the Brick Fields serve the color-focused players who want to concentrate one pollen type. This category covers every field's available pollen flowers, multiplier, recommended level, field-boost behaviour, winds and the practical farming order so you always know where to grind next for the best honey per hour.
Best Fields by Stage
| Stage | Fields | Best For |
|---|---|---|
| Early | Sunflower, Dandelion, Mushroom, Blue Flower, Clover | Learning the loop, first quests and eggs |
| Mid | Strawberry, Spider, Bamboo, Pineapple, Stump, Cactus, Pumpkin | Steady honey income with Quest eggs for bees |
| Late | Pine Tree, Rose, Mountain Top, Pepper Patch, Coconut | Maximum pollen per hour with field boosts |
| Special | Ant Field, Brick Fields (blue/red/white) | Color-specific farming for dedicated hive builds |
Field Highlights
Sunflower Field — Level 1
The very first field every player grinds. Easy white-pollen flowers, gentle Ladybug mobs and a low unlock cost make it the perfect training ground for the collection and conversion loop. Its low pressure lets you practise boost timing and quest management before the tougher fields demand serious swarm strength.
Pineapple Patch — Level 9
A white-pollen mid-game staple with strong multipliers and the frequent home of field boosts and winds during the mid-game transition to serious honey farming. Many mid-game players farm it for hours because the returns match the effort, and it is a favourite target for winds and boosts.
Mountain Top Field — Level 14
The red-pollen mountain field where Mondo Chick spawns hourly and the Windy Bee can appear — a major late-game farming ground for red hives and boss loot. Windy Bee's wind shrine and Mondo Chick's hourly spawn make this field a must-visit even when you are not farming red pollen.
Coconut Field — Level 16
The hardest field in the game, home of the Coconut Crab. Extreme multipliers reward maxed-out hives, and its Coconut drops craft the Coconut Canister and endgame gear. The Crab's 250K HP demands a real attack swarm, but the gear drops make the fight one of the most rewarding grinds in BSS.
Core Mechanics
Every field in BSS is defined by its pollen flowers and its multiplier. As you stand in a field, your bees fly out and collect the field's pollen type; higher-level fields have stronger multipliers but also cost more pollen to unlock, so the game naturally gates your farming order by swarm strength. Winds are the special mechanic that makes fields shine: a wind event rotates through fields, dramatically boosting pollen collection for a limited time, so smart players farm whichever field the wind currently favours. Field boosts are consumable tokens that multiply a specific field's pollen for their duration, and combining a field boost with active winds is the absolute fastest way to earn honey. Fields also host unique mobs — Sunflower has Ladybugs, the Spider Field has spiders, the Mountain Top has Mondo Chick — so farming a field is also mob-fighting time, and the loot drops matter for quests and crafting. Deciding where to grind is therefore not just about the field's multiplier but about your hive color, available boosts, wind state and quest requirements.
Advantages
The fields category turns the confusing 23-field map into a clear farming ladder. New players learn exactly which field to unlock next and why, preventing the classic mistake of grinding a too-weak field for hours when the next unlock costs only slightly more pollen. The best-field-by-level tables show the honey-per-hour trade-offs at each stage, and the wind and boost sections explain the highest-leverage trick in the game — matching field boosts to active winds can multiply an hour's earnings by ten or more. Color-specific field advice helps blue, red and white hives pick permanent farming grounds that match their pollen preference, and the special-field guides (Ant Field, Brick Fields) explain the niche options for dedicated builds. For anyone who wants to stop wandering the map and start maximising every minute in a field, this category is the roadmap.
Challenges
Field recommendations depend heavily on your bee level, hive color and available boosts, so a generic 'best field' answer is almost never right for every player. Higher fields like Pepper Patch and Coconut Field look amazing on paper but can be far slower than a mid-tier field if your bees cannot clear the flowers fast enough. Winds are random, which means the optimal field changes from hour to hour and a static guide cannot fully capture the living meta. Finally, the game adds and rebalances fields over time, so the unlock costs and multipliers need periodic updating to stay accurate.
Frequently Asked Questions
What is the best field for making honey in Bee Swarm Simulator?+
How do I unlock new fields in Bee Swarm Simulator?+
How do field winds and boosts work?+
Quick Tips
Always farm with the wind, not against it. Check which field the current wind favours before you commit to a long session — a wind-boosted field can multiply your honey by five to ten times, easily beating a nominally better field with no wind. Check the wind direction once at the start of every session and plan your first field trip around it.
Keep field boosts for the right moment. Do not burn a boost on a low-level field just to see numbers go up. Save boosts for wind-favoured fields and for quests that ask for huge pollen totals in one field, then watch a single field trip cover several quests at once.
Unlock the next field as soon as you can afford it, then test one quick trip before fully switching. Each higher field multiplies your income, but only if your bees can clear it comfortably. A five-minute test run tells you instantly whether the jump is worth the unlock cost. A handful of test trips tells you whether the unlock was worth the pollen cost before you commit a full farm session to the new field.
Featured

Bee Swarm Simulator Field Wiki: Every Zone, Boosts & Botany
Browse the complete Bee Swarm Simulator field wiki covering every farming zone. Learn field boosts, flower requirements, and which areas suit each hive color.

Bee Swarm Simulator All Fields: Pollen Types and Yields
Explore all fields in Bee Swarm Simulator from Sunflower to Coconut. Compare pollen colors, boost tokens, and per-field yields to farm smarter.

Bee Swarm Simulator Ant Field: Boost and Yield Strategy
Master the Ant Field in Bee Swarm Simulator with its white pollen output. Compare it to other zones and plan your best boost strategy for this area.
All Articles
Bee Swarm Simulator Clover Field: Blue Pollen Rates
Master the Clover Field in Bee Swarm Simulator for steady blue pollen. Check its honey cost, yield rates, and when to farm it versus nearby fields.
Bee Swarm Simulator How to Unlock Fields: Honey Costs Listed
Learn how to unlock fields in Bee Swarm Simulator with exact honey costs. Follow the required order from Sunflower up the mountain to Coconut Field.
Bee Swarm Simulator Red Flower Fields: Unlock & Farm
Farm red pollen efficiently in the Red Flower Fields. Learn unlock steps, field stats, and why these fields boost red hives in Bee Swarm Simulator.
Bee Swarm Simulator Late Game Fields: Where to Farm
Maximize honey in Bee Swarm Simulator late game fields. Compare Coconut Field, Pepper Patch, and Stump Field yields for red, blue, and white pollen.
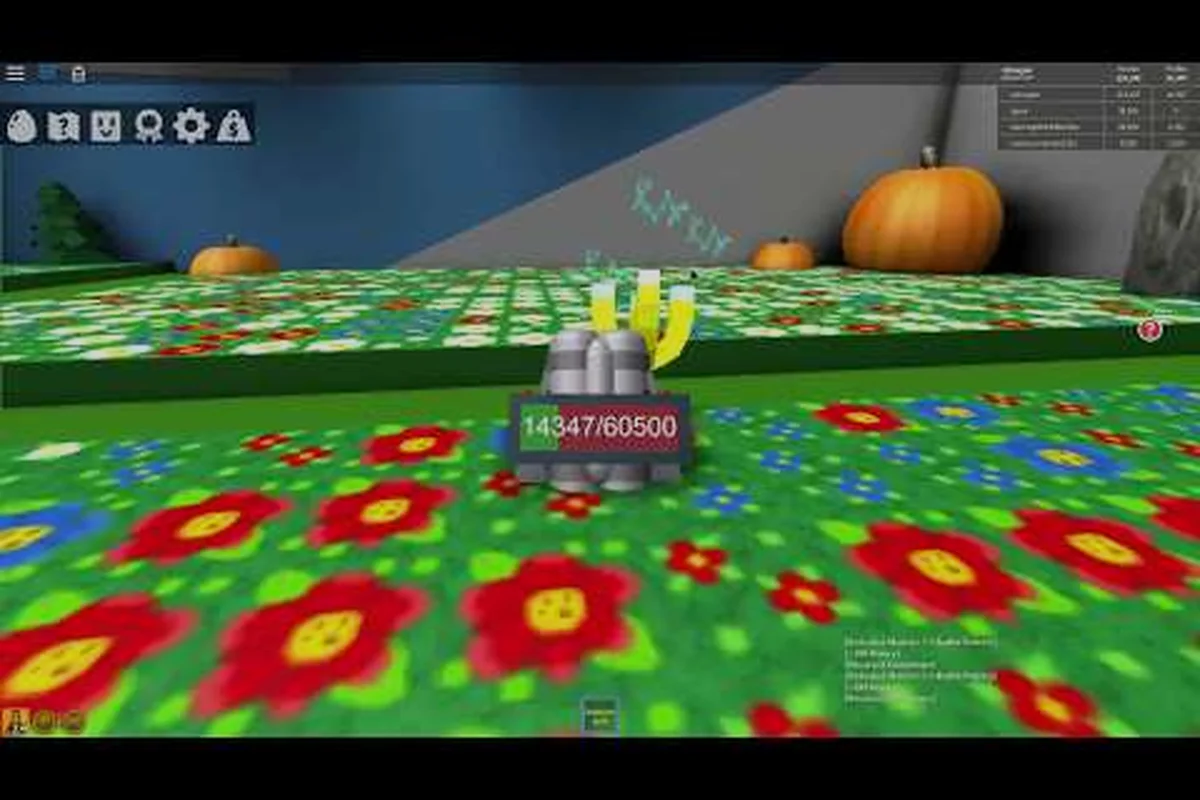
Bee Swarm Simulator Pumpkin Patch: Unlock & Pollen Guide
Harvest big honey in the Pumpkin Patch. Discover the 1.25M unlock requirement, red pollen rates, and how it compares to other late-game fields.