
Equipment
Every tool, mask, bag, belt, boots, guards and amulet in Bee Swarm Simulator — the best equipment for your stage of the game and how to get late-game gear.
Introduction
Equipment is the second biggest investment in Bee Swarm Simulator after your bees themselves. Your tool determines how much pollen you collect per swipe, your mask adds convert-rate and attack bonuses, your bag sets your pollen capacity, and belts, boots, guards and amulets round out a full stat kit that multiplies everything your swarm does. The progression is strict: early players scrape by with the Noob Shop Scooper and a basic Pouch, then climb through the Bubble Wand and Honey Mask to endgame setups with the Petal Wand, Dark Scythe and Gummyballer. Because gear is expensive — the Gummyballer alone costs 10 trillion honey — choosing the right upgrade order matters enormously. This category explains every equipment slot, the best item for each stage of the game, how stats like Convert Rate, Loot Luck and Attack interact with your hive color, and where you earn premium items like the Coconut Canister, Supreme Star Amulet and Crimson/Blue Guards. Whether you are deciding between the Fire Mask and Demon Mask for your red hive, or saving every glimmer of hope toward a Petal Wand, the guides here show you exactly what to grind next.
Equipment Progression
| Type | Starter | Endgame | Key Stat |
|---|---|---|---|
| Tool | Scooper | Gummyballer | Pollen collection amount |
| Mask | Strawberry Mask | Demon Mask / Gummy Mask | Convert rate + attack |
| Bag | Pouch | Coconut Canister | Pollen capacity |
| Belt / Boots | Basic Belt | Petal Belt / Coconut Boots | Capacity, convert, speed |
| Amulet | Beesmas Star Amulet | Supreme Star Amulet | Random stat rolls |
Gear Milestones
Scooper & Pouch — Start
The cheapest tool and bag in the game, sold in the Noob Shop. Their job is simple: get you from your first hatch to a few thousand honey so the real upgrades become affordable.
Bubble Wand — Mid
A mid-game tool that releases bubbles around you for bonus blue pollen and occasional instant conversion — one of the best value upgrades before the endgame wands. The bubbles it spawns also convert some pollen instantly, which smooths out early mid-game income while you save toward the Petal Wand.
Petal Wand — Late
The first true endgame tool, earned from 250 petals collected during the Spirit Bear's questline — enormous pollen and convert bonuses that become the baseline for late-game farming. Its passive convert bonus works in every field, so the Petal Wand remains useful even after you start grinding toward the Dark Scythe and Gummyballer.
Gummyballer — Max
The 10-trillion-honey capstone tool. Each swipe splashes gummy goo that boosts pollen collection enormously, rewarding players who have maxed the rest of their hive and gear. Only maxed-out hives should attempt it, because the 10T price tag is impossible to reach without strong bees, gear and boost discipline.
Coconut Canister — Bag
The best bag in the game, crafted from Coconut drops at the Coconut Field. Its huge capacity means longer field trips and less time running back to the hive, and it converts pollen for bonus honey along the way.
Core Mechanics
Every equipment slot in BSS multiplies a different part of your loop. Tools determine how fast you collect pollen and often add special collection effects like bubbles, flames or goo. Masks boost convert rate and attack, with color-specific masks tilting your output toward blue, red or white pollen. Bags raise your pollen capacity, so you convert less often and waste less time running back to the hive. Belts add capacity, convert amount and movement speed, while boots focus on jump power, speed and luck. Guards and amulets are the late-game RNG layer: guards give fixed stat bonuses and amulets roll random stat lines, so serious players reroll amulets to chase the perfect set. The key mechanical truth is that percentages multiply, not add: a good mask plus a good belt plus a good tool compounds into far more honey per hour than any single item, which is why upgrade order and hive-color synergy matter more than buying the most expensive thing you can afford first.
Advantages
The equipment category saves players millions of honey by preventing bad purchases. A common trap is saving forever for a Gummyballer while your current tool is still the Scooper — the guides show that intermediate steps like the Bubble Wand and Petal Wand pay for themselves before you reach endgame. Color-specific gear advice is also huge: knowing that the Fire Mask is the red-hive workhorse and the Honey Mask is an early-mid stepping stone prevents wasted grinding on the wrong mask. The endgame guides cover how to obtain premium items through boss drops, quest chains and the Star Journey, so you always know which grind to start for the gear you want. For players optimising honey per hour, the combination summaries — tool + mask + belt + amulet for a specific hive color — are worth more than any single item guide.
Challenges
The weakness of equipment guides is that they can date quickly and depend on hive color. Onett regularly adds new gear, like the Gummyballer when it replaced older endgame tools, and a recommended item can become obsolete after an update. Equipment and bee recommendations are also deeply linked: a Demon Mask is only the right answer if you are building red, so players who read a single guide without checking the hive-color context may grind for the wrong item. Finally, some premium gear requires massive farming commitments — hundreds of petals for the Petal Wand, 10 trillion honey for the Gummyballer — and the guides cannot fully describe how much patience those grinds demand.
Frequently Asked Questions
What equipment should I buy first in Bee Swarm Simulator?+
What is the best endgame tool in Bee Swarm Simulator?+
Which mask should I use for a red or blue hive?+
Quick Tips
Upgrade in small steps, not one giant leap. Every cheap tool, bag and mask multiplies your collection and conversion rate, and the compound effect of several $1M upgrades beats hoarding $100M for a single endgame item you cannot use yet. Buy the cheapest upgrade with the largest percentage gain first, and watch your honey per hour climb every session.
Match your gear to your hive color. A Demon Mask in a blue hive wastes attack stats you will never use, and a Coconut Mask in a red hive does the same. Decide your hive color first, then buy the mask, belt and amulet that support that strategy. Check the mask and belt that match your chosen hive colour before splurging on any premium gear.
Grind petals and event items early. Start the Spirit Bear petal quest as soon as you unlock it and collect every petal you find — the 250-petal Petal Wand is a marathon, and beginning it while you grind other goals keeps the endgame tool within reach. Treat the petal quest as background progress you complete while farming fields and quests — do not let it become a chore.
Featured

Bee Swarm Simulator Backpack: Best Bags & Upgrades
Find the best backpack in Bee Swarm Simulator. Compare bag stats, costs, and upgrades to increase your pollen capacity and farming efficiency.

Bee Swarm Simulator Best Gear: Tool Sets & Progression Order
Find the best gear in Bee Swarm Simulator with this tool ranking. Compare scythes, scoopers, masks, and belts to plan the optimal upgrade order.
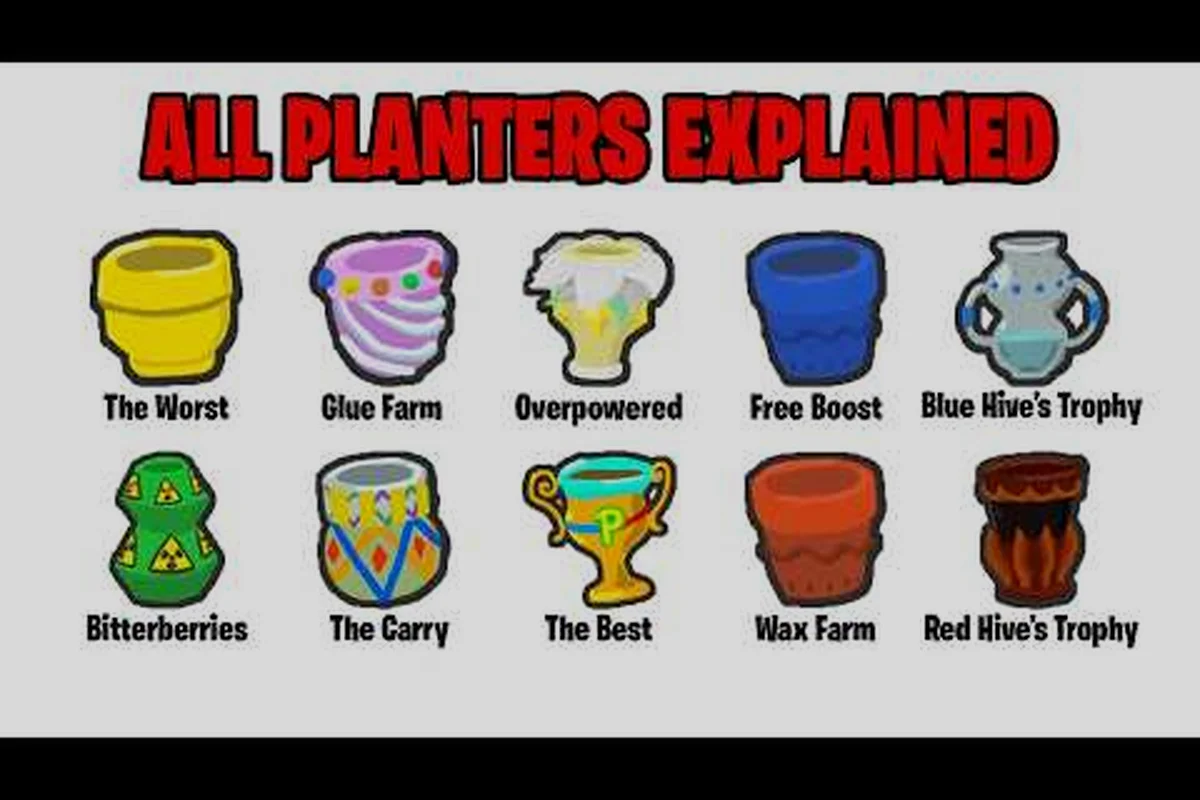
Bee Swarm Simulator Best Planter: Top Picks and Upgrades
Find the Bee Swarm Simulator best planter to maximize pollen yield. Learn how to get and upgrade each planter, and which suits your hive's color strategy.
All Articles
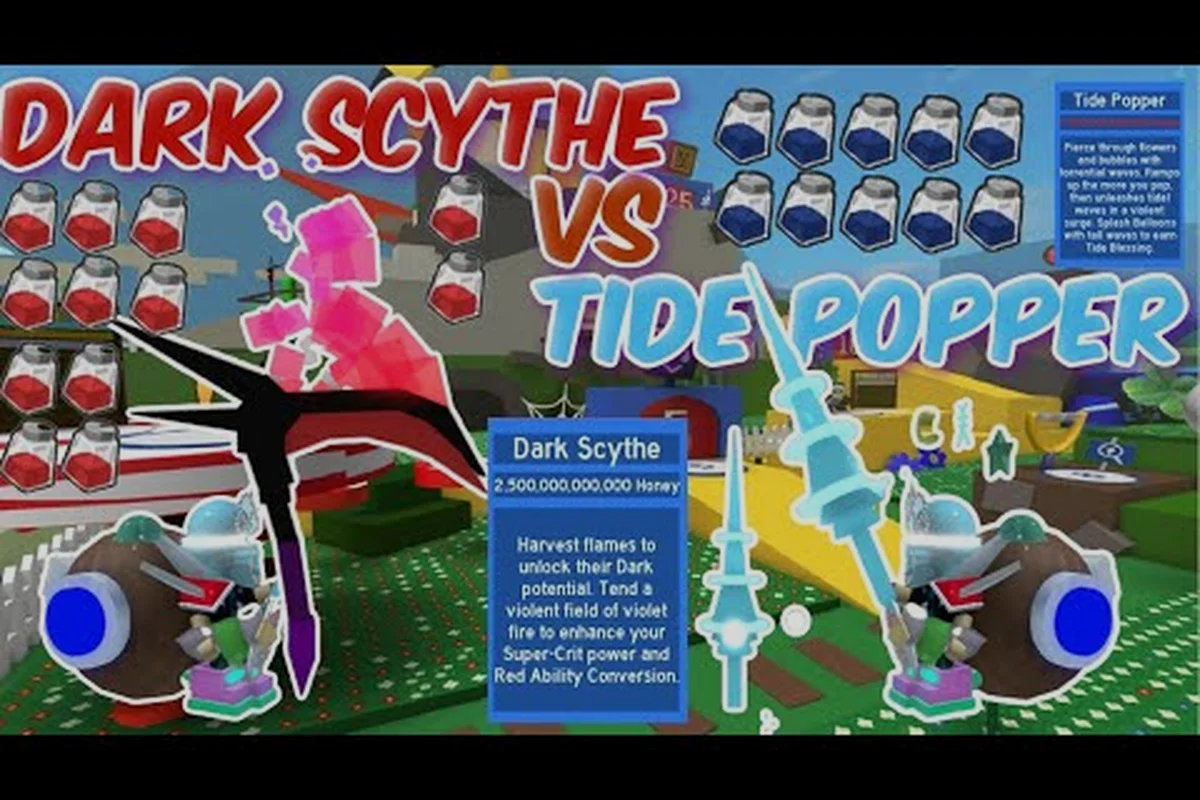
Bee Swarm Simulator Best Tool: Dark Scythe vs Petal Wand
Compare Bee Swarm Simulator best tool options like Dark Scythe and Petal Wand. See stats, costs, and which tool maximizes pollen for your hive stage.

Bee Swarm Simulator Honey Mask: Stats, Cost, and Crafting
Master the Bee Swarm Simulator honey mask with full stats and crafting costs. Compare it to Fire and Demon masks to pick the best for your hive.

Bee Swarm Simulator How to Get Dark Scythe: Fast Guide
Learn how to get the Dark Scythe in Bee Swarm Simulator, including materials and requirements. Discover its stats and why it's a top-tier endgame tool.
Bee Swarm Simulator Rake: Stats, Cost & Upgrade Guide
Discover the Rake's stats, cost, and upgrade path in Bee Swarm Simulator. Compare it to vacuums and other tools to boost your pollen collection.
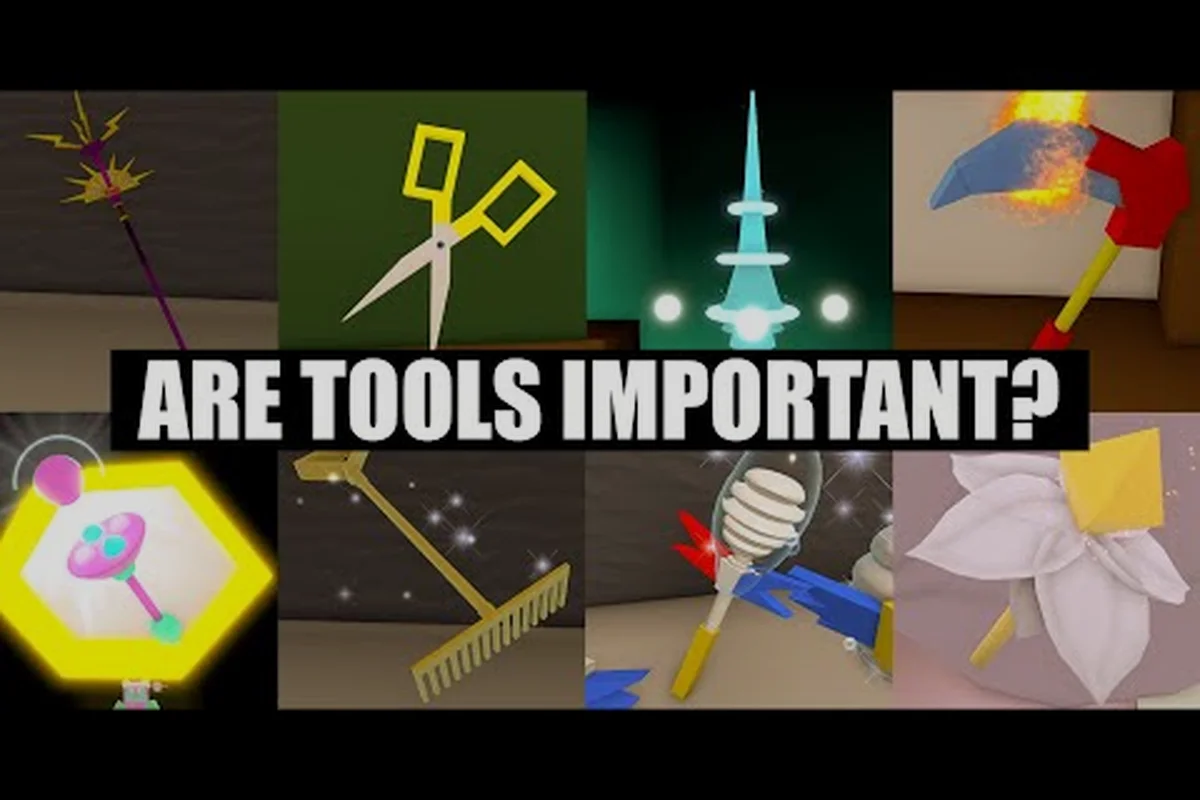
Bee Swarm Simulator Where to Buy Tools: All Shops Guide
Know exactly where to buy tools in Bee Swarm Simulator, from early to endgame. Find shop locations, unlock requirements, and which gear boosts pollen.